I heard about this recipe from my Mom the other day. She mentioned an old recipe that she and my dad clipped and saved from the San Francisco Chronicle ages and ages ago. She didn't remember what had happened to the recipe, or where to find it again, so I turned to the good old internet. Within seconds, not only did I find the recipe published in several newspapers (circa 1986), but found the original recipe as it was published in Chocolatier magazine in November 1986. Just for kicks, here is a link to the original recipe as published in the Spokane Chronicle, out of Spokane Washington. I will write the recipe with a few changes, as I found it a bit hard to follow the order of the original recipe.
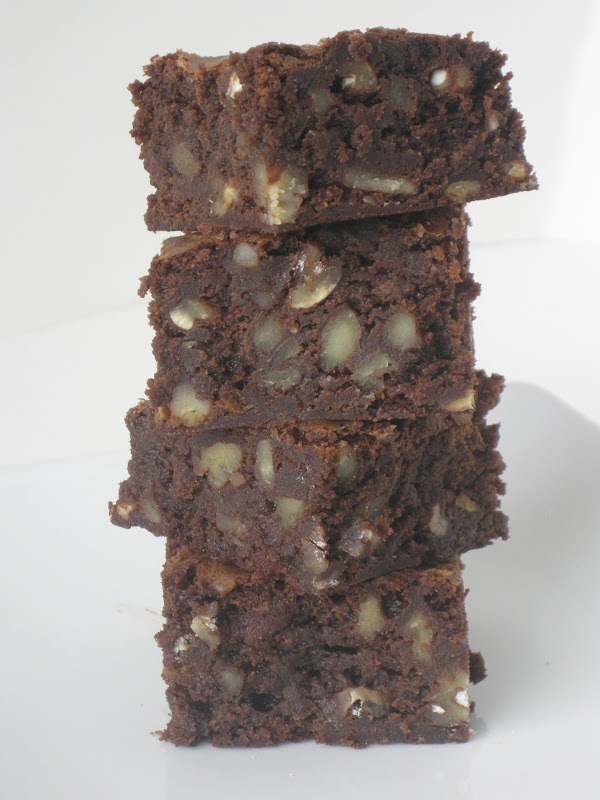
San Francisco Fudge Foggies
1 pound (16 ounces) High quality bitter-sweet chocolate
1 cup (2 sticks) unsalted butter, cut into tablespoons
1/3 cup strong brewed coffee or expresso
4 large eggs, at room temperature
1 1/2 cups granulated sugar
1/2 cup all-purpose flour
8 ounces , (2 cups) walnut halves. coarsely chopped
Preheat the oven to 375F. Line a 9x13 inch baking dish with aluminum foil so that the foil extends 2 inches beyond the sides of the pan. Butter the bottom and sides of the lined pan.
In the top of a double boiler set over hot, not simmering water, melt the chocolate, butter, and coffee, stirring frequently until smooth. remove the pan from the heat. Cool the mixture, stirring it occasionally, for 10 minutes.
In a large bowl, using a hand mixer set on high sped, beat the eggs for 30 seconds, or until foamy. Gradually add the sugar and beat for 2 minutes or until the mixture is very light and fluffy. Reduce the mixer speed to low and gradually beat in the chocolate mixture until just blended. Stir in the flour and walnuts. Do not overbeat.
Pour batter into the prepared pan and spread evenly. Bake for 28 to 30 minutes or until the foggies are just set around the edges. They will remain moist in the center. Cool the foggies in the pan on a wire rack for 30 minutes. Cover the pan tightly with aluminum foil or plastic wrap and refrigerate overnight or for at least 6 hours. Remove the top foil (or plastic wrap), and run a sharp knife around the edges of the foggies. Using the foil as handles, lift the foggies out of the pan. Invert the foggies onto a large plate and peel off the foil. Invert them again onto a smooth surface and cut into 32 rectangles. Makes 32 Foggies.
Enjoy! -Cardamommy